Due to popular demand, I will be doing a small series on my nail care routine. I get a lot of questions about how I take care of my nails and what products I use, etc. so this post will hopefully answer a lot of your questions. I did a post similar to this when I first started this blog, but it is now very outdated. At lot has stayed the same and a lot has changed. Since my routine and products are bit extensive, I'm going to break this post up into 4 Parts..
- Cuticle Care - Part One
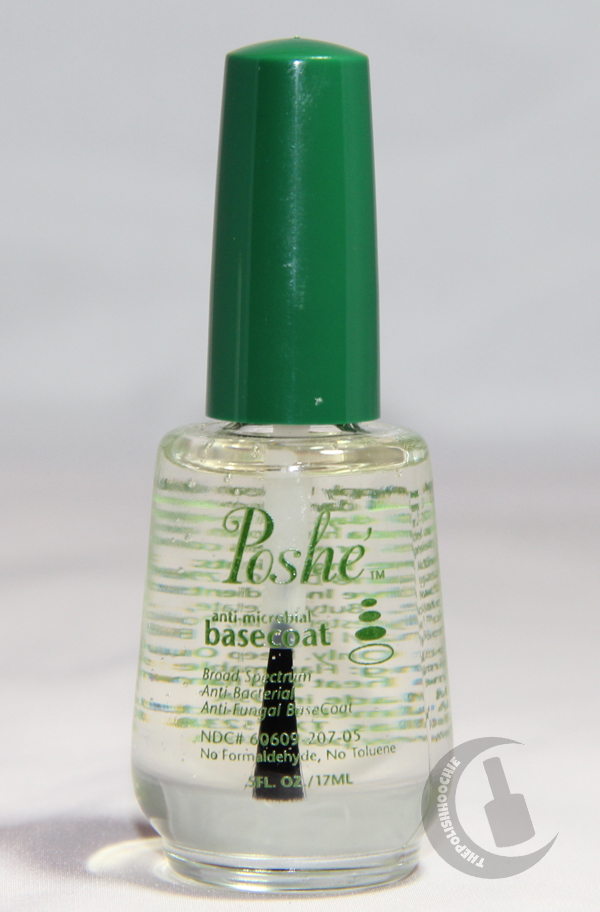
- Base Coats - Part Two
- Top Coats - Part Three
- MISC - Part Four
First up is ...
Cuticle Care - PART ONE
I always start my cuticle care with cuticle remover. I let the remover sit on my cuticle area for a minute or two, and then I push back my cuticles (very gently) with a cuticle pusher. I use
CND Cuticle Away as my cuticle remover. I like this particular remover because it is very gentle on my cuticles. I have very sensitive skin and any other remover I have tried turns my skin around my cuticles red and puffy, CND does not. I purchased this from
Transdesign, but I do not believe they carry it any longer. I will have to find a new source myself once I run out. I can tell you that this bottle shown below is 3 years old. I use very little.
Here are the tools I use to push back my cuticles and trim hang nails once the remover has sat on my fingers for one to two minutes.
The cuticle 'pusher' pictured on the left was also purchased at Transdesign. I love this pusher because of the hook end which comes in handy for cleaning under the nail. The cuticle clippers show on the right are from Sally Hansen and can be purchased at any Drug Store. I only use the clippers to clip hang nails. I never EVER NEVER clip my cuticles. I have tested this out and my cuticles will grow back harder and more fierce if I clip them. The skin gets tough and unmanageable. It may look neat and clean when you first do it, but in the long run it is not worth it. Once I started using remover and a pusher, my cuticles grew very little and were much more manageable and pliable.
I always sanitize my tools prior to use. I'm a HUGE germaphobe, but when doing anything to your cuticles you should always use clean tools. I purchased Mar-v-cide cleaning solution and a container from Sally's Beauty Supply for cleaning my tools. You just dip them in the solution for 10 minutes, and then they are ready to use.
After I 'push' the cuticles with the scoop end of the pusher, I end up with a lot of remover and dead skin on my fingertips. I head to the sink and do some scrubbing.
My scrubber of choice is California Mango Buff. This scrub is gentle and cleans things up really nicely and I love the smell of it too. It gets rid of the cuticle remover and dead skin very well. I purchased this at Sally's Beauty Supply. You can use any kind of hand scrub for this step.
I then move on to disinfecting. YES, disinfecting AGAIN. This is what germaphobes do lol. I spray my fingers with disinfecting spray, Sea Breeze. If you have ever went to a professional nail salon they would have sprayed your hands with this after cleaning your cuticles. I was thrilled to find out that Sally's Beauty Supply carries this as well. I love the smell of this stuff and it makes me feel confident that if I pushed any dirt, germs etc under my cuticles, I will not get any weird infections. In my mind, my fingers will get infected and fall off otherwise, of course :)
My final step is to apply cuticle oil and lotion. I first apply the cuticle oil and then I seal it in with the lotion on top.
My choice items are Barielle Intensive Nail Renewal Oil and Burt's Bees Lemon Butter Cuticle Creme. In the 3 years I have been doing my own nails I have tried CRAZY amounts of Oils and Cremes. I have tried every one available on the market, and these two work best for me. The oil is very light and not too greasy and the butter seals things in very nicely. My cuticles have improved 100% since I started using this combination.
This is something you do have to experiment with. Everyone's skin chemistry is different and will react differently to varies products. A lot of oils were extremely greasy and actually drying out my cuticles and making them very hard. It took me a while to find my winning combination. I wish I could say this combination will work for everyone, but I'm afraid you will have to experiment on this part.
I hope this is helpful. After I let the oil and lotion sit for awhile I will go wash my hands and move on to applying a base coat...
Stay tuned for Base Coats - Part 2 coming soon!